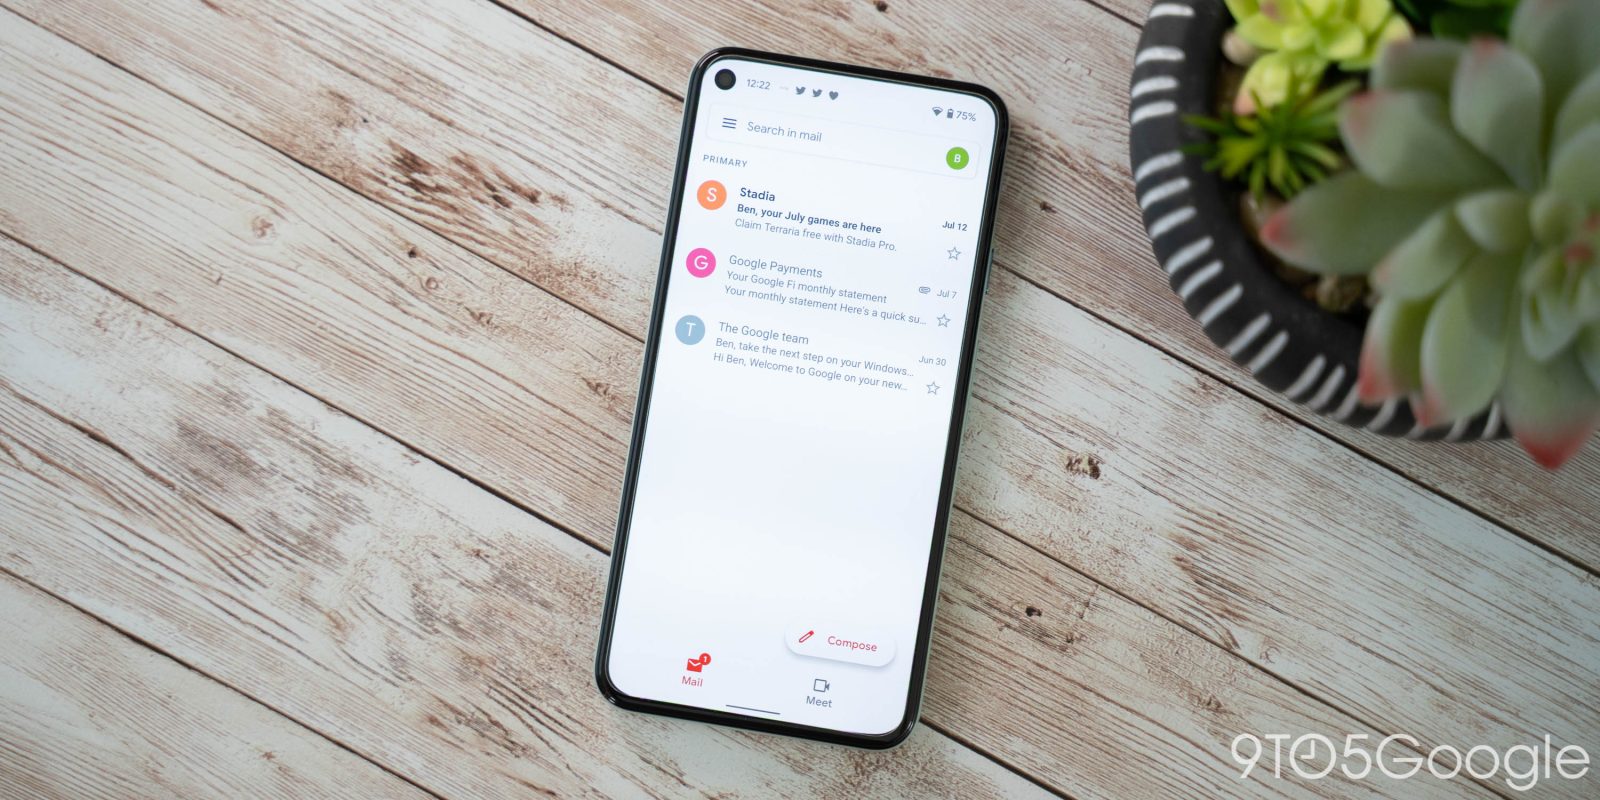
On the surface, Gmail seems like a basic email platform for simple sending and receiving. Under the hood, there are tons of functions you can make use of – schedule send, label organization, theme changes, and even Google’s Gmail chat. Read along to find out how each of these useful features works.
Table of contents
- How to schedule send in Gmail
- Android
- Web
- Organizing by changing label colors in Gmail
- Automatically organizing emails
- Unread message icon in Chrome
- Gmail viewing modes
- Changing your Gmail theme
- Turning off Google Chat/Meet in Gmail
How to schedule send in Gmail
There are plenty of times when you have an idea, something to say, or a picture to send, but it’s way too early or late at night to do so. That’s when Gmail’s scheduled send really comes in handy. This feature allows you to delay sending an email until a preferred time in the future.
You can schedule an email to send well over a year in advance if you really want to. In fact, there doesn’t seem to be a limit on how far out you can schedule an email.
Android
- Head into the Gmail app on your device.
- Find the Compose email button on the lower right side of your screen, and tap it.
- Compose an email like you would normally.
- When you’re done composing, tap the three-dot menu at the top right of the screen.
- Tap Schedule send, and select your time.
- You can choose between Google’s presets, or you can define your own timeframe by hitting Pick date & time.
- Hit Schedule send to confirm and finalize your email.
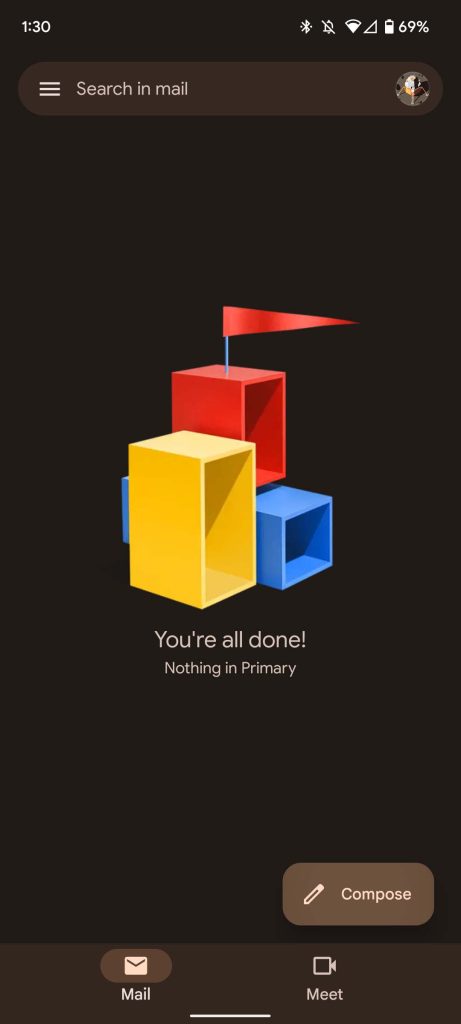
Web
- Head to gmail.com on your preferred browser, and sign in.
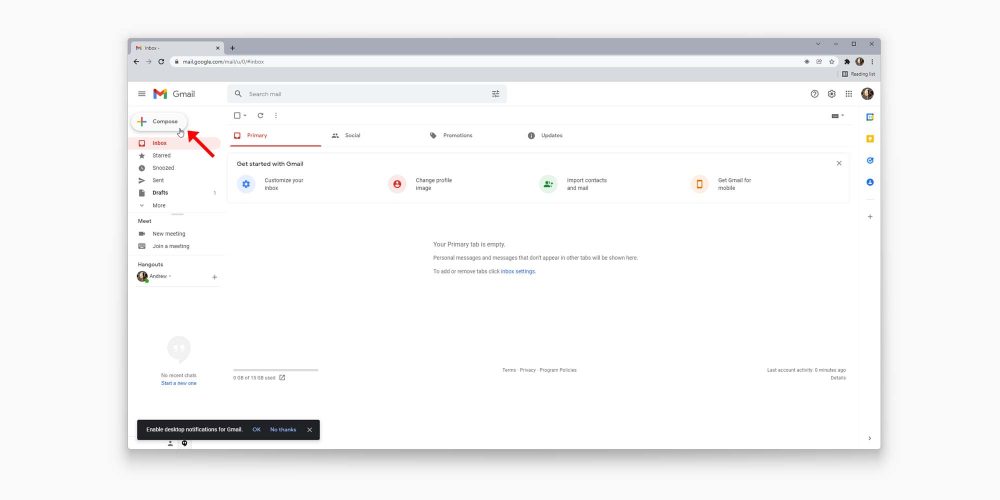
- Look for the compose button. It should be located toward the top left of your browser screen. Click it.
- Write out your email like normal. When you’re finished, click the dropdown arrow next to the Send button.
- Click Schedule send.
- Just like on mobile, you can choose a Google preset time, or pick your own time by hitting Pick date & time.
- Click Schedule send to finish the email.
Both on mobile and web, you can cancel any email that you schedule in two different ways. First, you’ll notice a small notification at the bottom of the screen after you schedule an email. This notification has an Undo button on it. By hitting this, your email will cancel and revert to draft form so you can edit and try again.
The other way to cancel the email is to head into your Scheduled folder in Gmail, which appears after scheduling an email on web but is constantly there on mobile. Here, you can find your scheduled email and choose to delete it or cancel it by opening it and tapping Cancel send. Schedule send in Gmail can come in handy pretty often, so it’s a good function to know how to use.
Organizing by changing label colors in Gmail
Labels in Gmail act sort of like dynamic folders for the emails you want to organize and sort. You can add rules for new emails coming in to automatically sort into labels and change the color of the label in order to easily manage them. Changing the color is relatively easy to do and can liven up your inbox a little more. While this feature is only available on Gmail for web, it’s still an extremely useful organizational tool. Here’s how to change label colors in Gmail:
- Head to gmail.com in your browser.
- In the sidebar menu to the left of your screen, find a label you’ve created.
- Note: If you don’t have any labels created, you can do so by scrolling down in the sidebar menu and clicking Create new label.
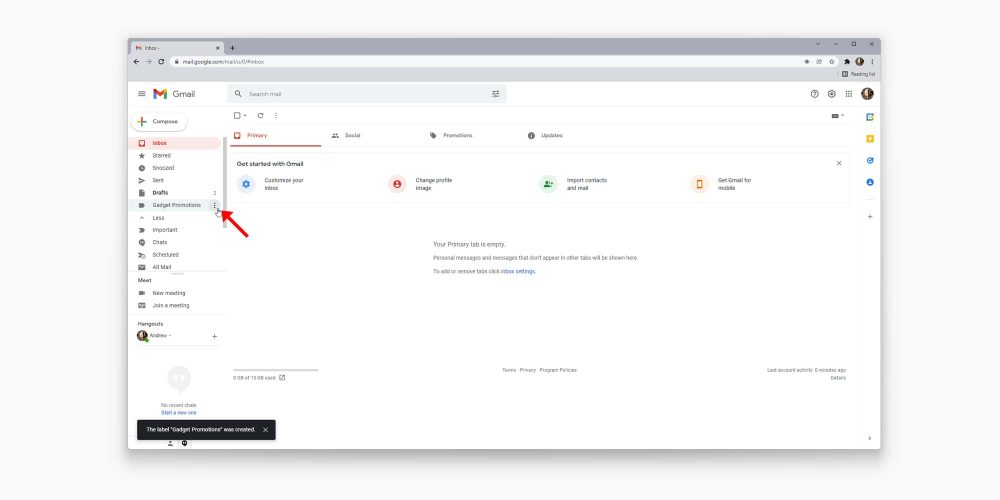
- When hovering over a label with your mouse, you’ll see a three-dot menu appear. Click it.
- Click Label color and choose among the preset colors Gmail has to offer, or create your own.
Automatically organizing emails
You can also create rules for emails in your Gmail inbox to automatically add labels. For instance, tax-related documents and receipts can be siphoned into one label for easy management. Not only that, but emails can automatically be forwarded, deleted, archived, and much more. Here’s how you can create incoming email rules:
- Open gmail.com on the web.
- At the top of the page, click the adjustment icon in the search bar.
- Fill out the parameters to your liking.
- Note: Here, you can define a set of emails from certain senders as well as define emails including certain terms. This form can be filled out in a lot of different ways, and not all boxes need to be filled. You can test out your parameters by clicking Search to see what sort of emails come up.
- Once you fill out the information to your liking, click Create filter.
- Choose what happens to those emails.
- Note: Here you can choose whether these emails get immediately deleted, starred, or moved into an existing or new label.
- Once you’re done, hit Create filter again.
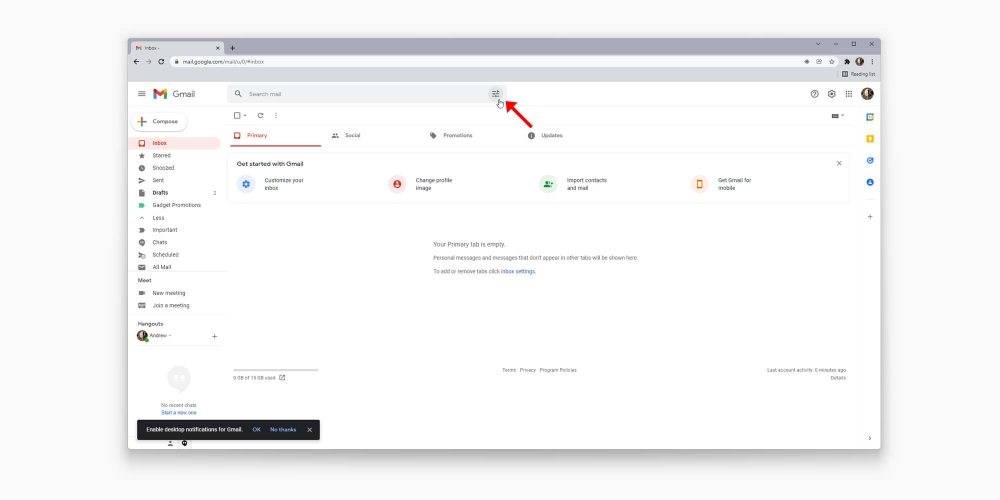
Creating rules for incoming emails is a Gmail feature that can help you stay organized a lot more easily. Play around with different rules to see what helps you out the most as this tool can be used a thousand different ways.
Unread message icon in Chrome
Another nifty little feature you can enable is the unread message icon. This icon will appear as a number in your Google Chrome tab icon, showing you exactly how many emails you haven’t read yet. Here’s how to enable it:
- Open gmail.com in Google Chrome.
- Look for and click the settings cog at the top right of the page, then click See all settings.
- Find and click the Advanced section.
- Scroll to the bottom, and find the Unread message icon. Click it.
- Click Save changes.
Gmail will refresh after hitting Save changes. You’ll notice a small number appears on the Chrome tab if you have unread emails.
Gmail viewing modes
Whether you like your inbox to look condensed so all your information is right where you need it or spaced out, Gmail has you covered. By going into Settings, you can change Gmail’s density. There are three options:
- Default
- Comfortable
- Compact
Play around with these different viewing densities, and choose one that fits your needs. Personally, I like default, since it allows the most information at a glance.
Changing your Gmail theme
Some Gmail features are purely there as quality-of-life settings. Themes fit right into that category. Rather than a dull white or black Gmail, you can develop or choose a theme that represents you a little better, or just lightens up your mood when replying to monotonous emails all day.
Gmail allows you to choose between preset photos, colors, and even your own Google Photos images to use. Here’s how to change your Gmail theme:
- Head into gmail.com on web.
- Look for the settings cog at the top right of the page and click it.
- Look for the Theme section. You can choose from these few photos, or you can hit View all to choose from even more.
- Once you hit View all, scroll through the page and find what really speaks to you. If nothing does, click My photos at the bottom left.
- Choose between Featured, My photos, and Recently selected if you’re wanting to revert to a previous photo.
- Note: If an image is over 20MB, you won’t be able to use it for your theme.
- Once you find the photo you want, select it, and hit Save.
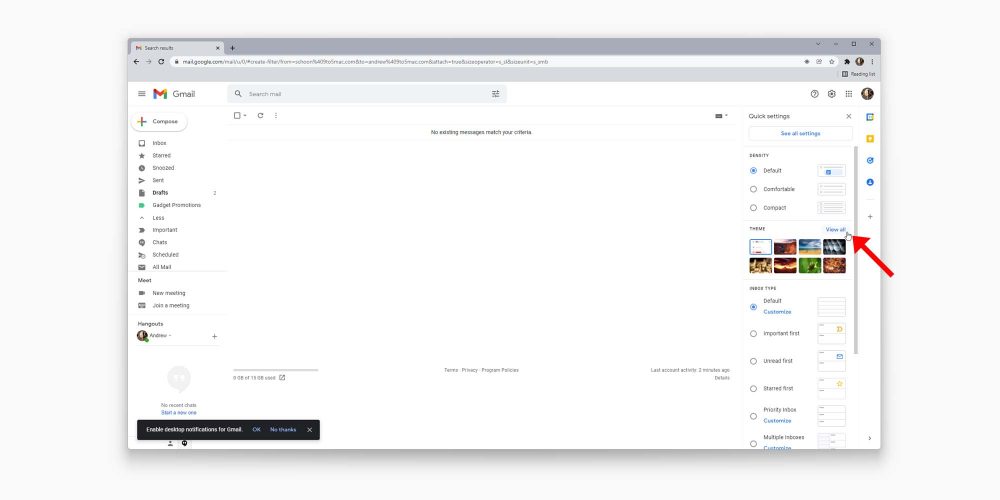
Once you save, you should see your new theme appear in the background of Gmail. There’s no limit on how many times you can change your theme, so go nuts.
Turning off Google Chat/Meet in Gmail
Some settings are fantastic when enabled, others are even better when disabled. One example is Google Chat and Meet. While these optional chat platforms can be useful for communication, it tends to clutter up Gmail, which is already prone to clutter.
Whether you should disable Google Chat and Meet is completely up to you and how you use Gmail. In case you never use these features and want to clean up your Gmail experience, here’s how to disable Chat and Meet:
- Open gmail.com in a browser.
- Look for the settings cog at the top right of your screen.
- Tap See all settings.
- Look for and click the Chat and Meet section.
- Next to Chat, select Off.
- Next to Meet select Hide the Meet section in the main menu.
- Click Save changes.
You don’t have to disable Google Chat and Meet in Gmail or even either of them. It all depends on your preferences for using Gmail. Once you hit Save changes, Gmail will refresh, and your changes will be reflected. Suddenly, you’ll find that the side menu is much less cluttered and easier to navigate.
These are just a few things you may not have realized you can do to change your Gmail experience. Whether you want to implement all of them or none of them is up to you. Either way, Gmail is a great tool and even greater when you know how to organize labels, change their color, and disable certain features.
